By Lio Verdan, Gridova Living ⚡
Introduction — Cooking with Pure Sunlight
Imagine baking bread or heating your meal — using nothing but sunlight. A DIY solar cooker lets you cook outdoors, off-grid, without gas or electricity.
At Gridova Living, we believe freedom is not just about power — it’s about living resourcefully. Let’s build your own solar cooker step by step.
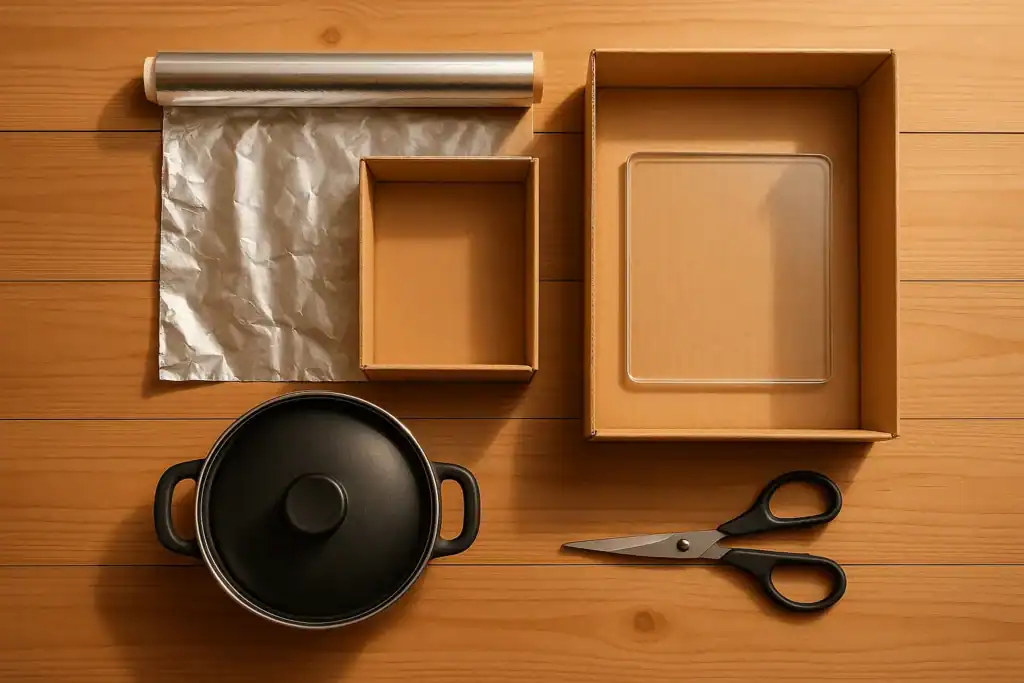
What You’ll Need
- Cardboard box or reflective metal tray
- Aluminum foil (mirror-like finish)
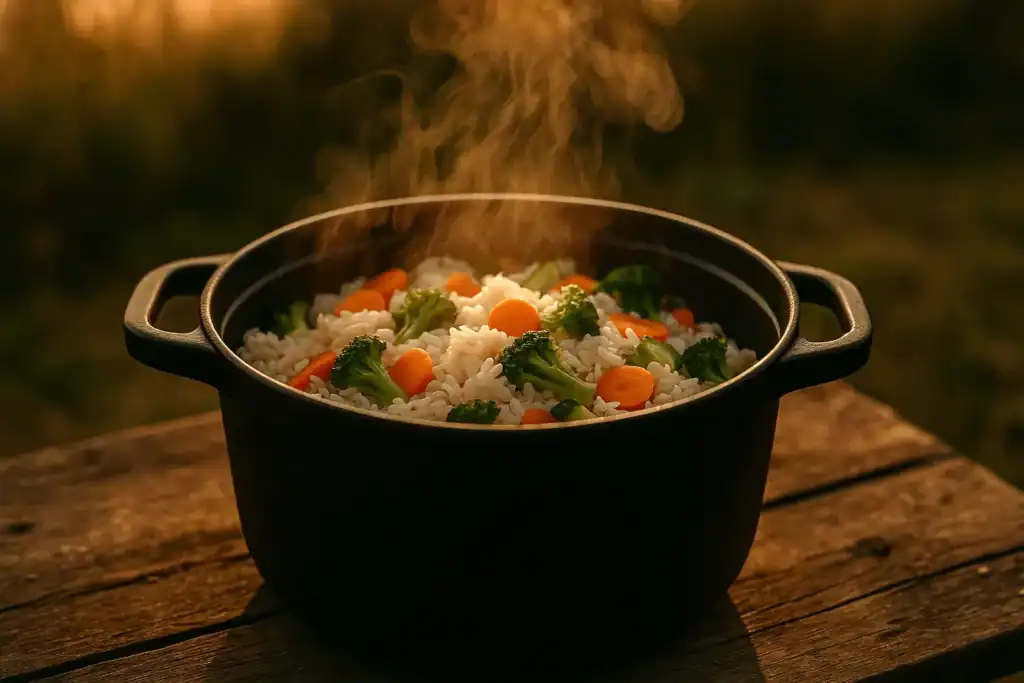
- Black cooking pot or dark metal pan
- Transparent glass cover or oven bag
- Thermometer (optional)
Pro Tip: With good sunlight, a solar cooker can reach 120–150°C — enough to boil water or bake bread!
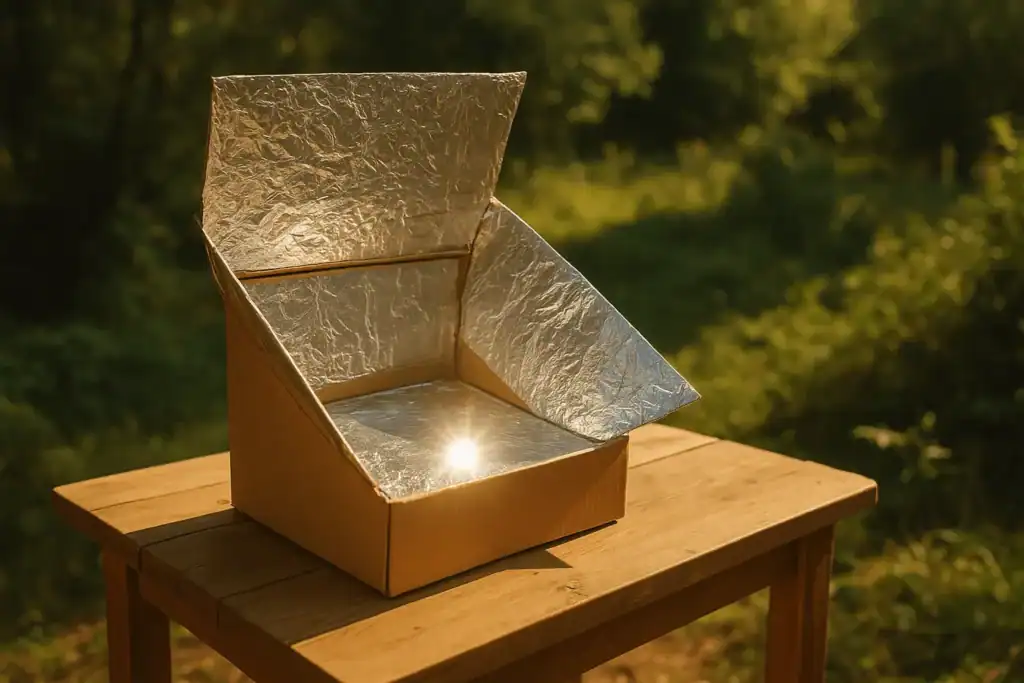
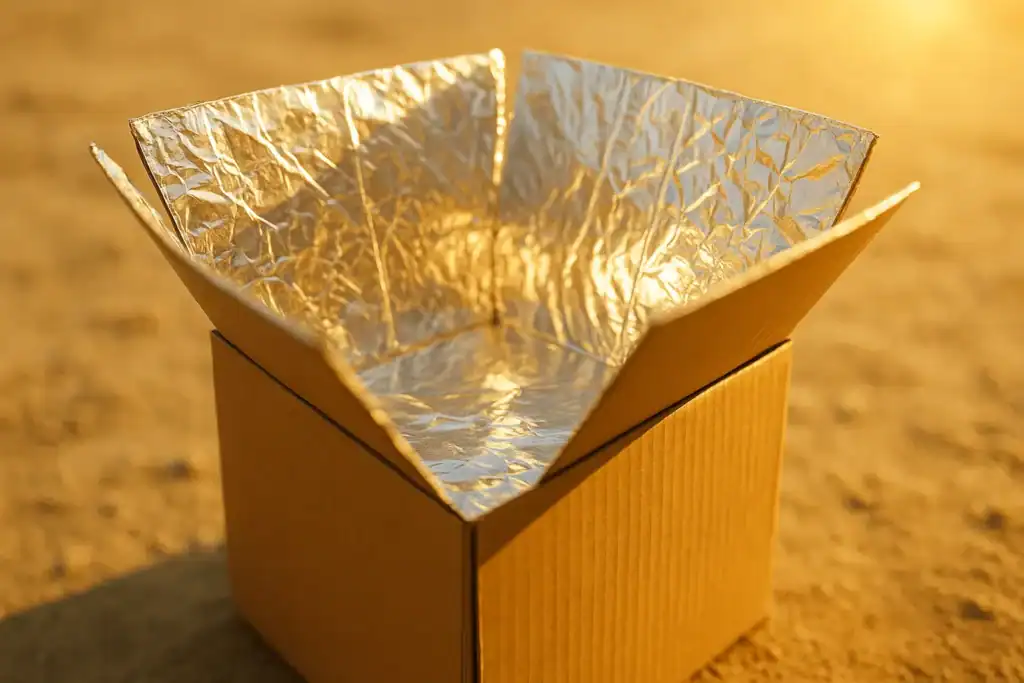
Step 1 — Shape the Reflector
Line the inside of your box with aluminum foil. The shinier, the better — it reflects sunlight into one focused area.
Tilt the box slightly toward the sun. A mirror-like angle increases efficiency by 30%.
Step 2 — Place Your Cooking Pot
Use a black metal pot — dark colors absorb more heat. Place it at the focal point, then cover with a glass lid or oven-safe bag to trap heat inside.
You’ll notice condensation forming — that’s your natural oven working!
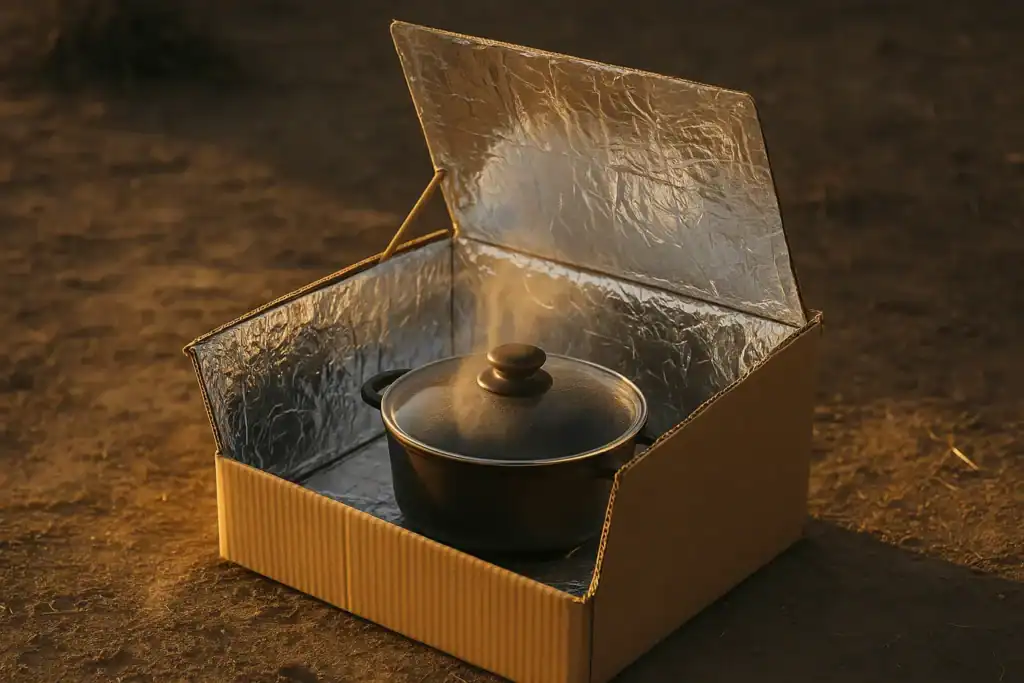
Step 3 — Cook and Enjoy
Rotate the box every 20–30 minutes to follow the sun. Within 1–2 hours, you’ll have perfectly cooked rice, vegetables, or even cookies.
Gridova Insight: Cooking with sunlight doesn’t just save energy — it reconnects you to nature’s rhythm.
Conclusion — Freedom on Every Plate
With your DIY solar cooker, every meal becomes a small act of independence. You’re not just cooking — you’re using pure sunlight to live smarter, simpler, and freer.
Next project idea: DIY Solar Water Heater — Step by Step
Last updated: November 9, 2025

Lio Verdan writes about solar energy, off-grid living, and eco-innovation through Gridova Living — a platform dedicated to energy freedom and sustainable technology.